
7 min read
How to Keep Cut Flowers Fresh: Simple Tips to Keep Flowers Fresh for Longer
Learn how to keep cut flowers fresh with simple steps: a clean vase, angled stem cuts, flower food, cool spots and fixes for wilting roses and tulips.
Read story
Learn how to make dried pineapple flowers at home: a simple, edible garnish that turns cakes, cocktails and gifts into something people remember.
5 min read
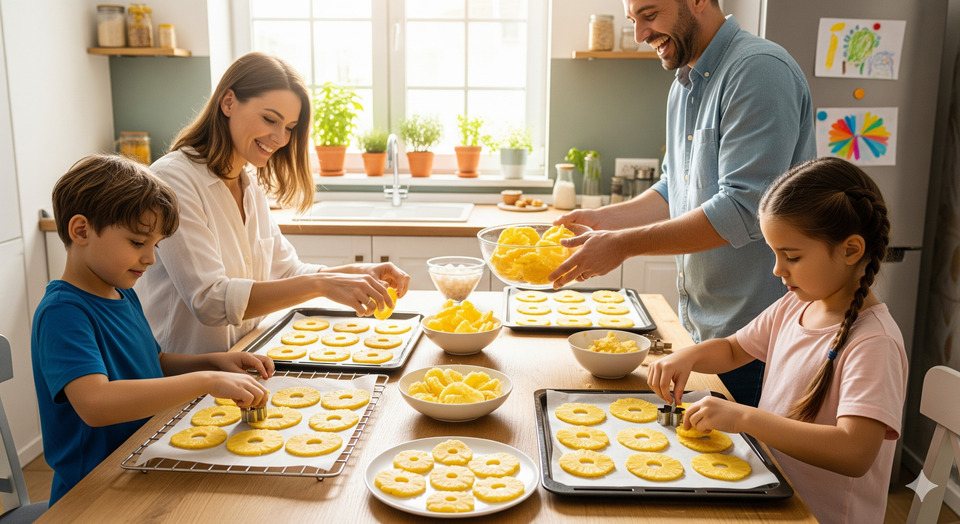
Have you ever looked at a beautiful, professionally decorated cake and wondered, "How on earth do they do that?" Or maybe you've been searching for that perfect, heartfelt detail to make a gift truly unforgettable. You know, that little something extra that says, "I really put some thought into this." Here's the thing: you don't need to be a pastry chef or a master crafter to create something stunning. I'm talking about dried pineapple flowers, a surprisingly simple, edible garnish that looks so elegant and sophisticated, it'll make people stop and stare. Honestly, they're a total game-changer. They transform the simplest desserts, from a basic cupcake to a fancy layer cake, into a showpiece. And the best part? They’re just as delicious as they are beautiful.
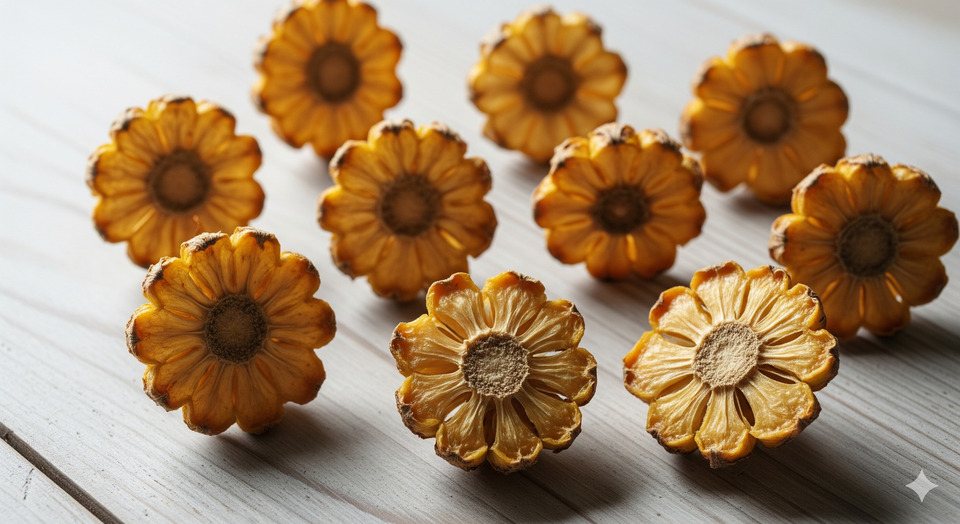
Before we even get to the oven, let's talk about the star of the show: the pineapple itself. I've heard some folks say you can use canned or pre-cut pineapple. Just... don't. Please, for the love of all things delicious, start with a fresh, whole pineapple. The core is absolutely crucial here; it's what gives your finished "flower" its sturdy, petal-like structure and that perfect, dark-brown center. A pineapple that's less ripe is actually better for this project, as it's less juicy and will dry more easily.
Now, for the hardest part of the entire process, and I'm not even kidding: the slicing. You need to get your pineapple slices as thin as possible. We're talking paper-thin pineapple slices, so you can almost see through them. If you've got a mandolin slicer, this is its moment to shine. It'll give you perfectly even slices every single time, which is a big deal for uniform drying. If you don't have one, don't worry! A very sharp knife and a bit of patience will work just fine. Just take your time. Remember, thicker slices will take much longer to dry out and may not hold their shape as well.
Once you've got your beautiful, translucent rounds, it's time to tackle the moisture. Pat each one down on both sides with a paper towel. This little step is super important because it helps speed up the drying process and prevents you from getting soggy, sad flowers. You want to get as much of that excess juice off as you can before they hit the heat.
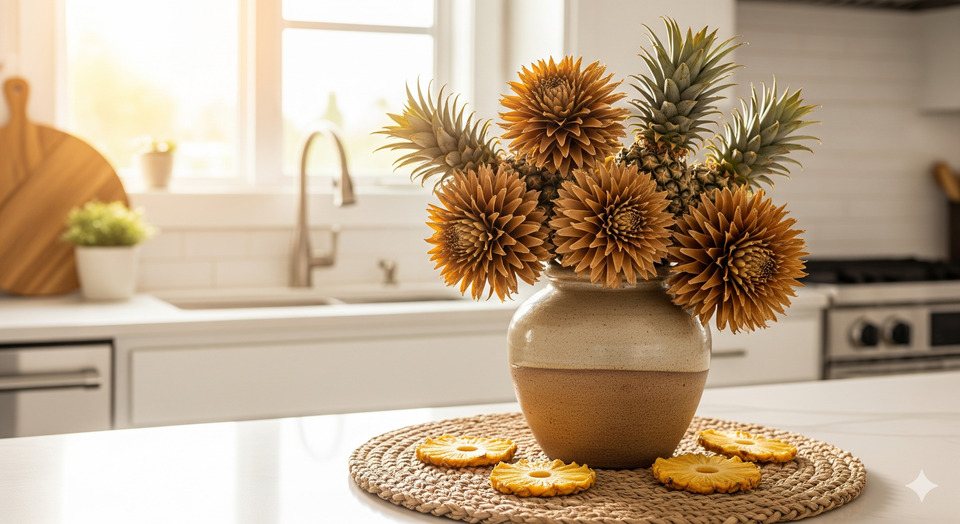
Here's where it all comes together. You're going to use your oven, but not in the way you usually do. We're going low and slow, sort of like a mini-dehydrator. Preheat your oven to a low temperature, typically around 200°F (or its lowest setting). This gentle heat is key to wicking away the moisture without burning the fruit.
Lay your pineapple slices in a single layer on a parchment-lined baking sheet or, even better, a wire cooling rack placed over a baking sheet. The cooling rack is a pro-level hack because it allows air to circulate all around the slices, helping them dry out faster and more evenly. If you're using a single rack, you can even stack a few with little balls of aluminum foil in between to create a makeshift drying tower. Talk about ingenious!
Bake the slices for about 2 to 3 hours. Now, I know that sounds like a long time, but you don't have to hover. Just set a timer and go do something else! After the first hour or so, you'll want to flip them over. You'll know they're ready when they're dry to the touch but still a little bit pliable. The edges will start to get golden and curl up ever so slightly, and the core will be a nice, rich brown.

To keep your pineapple flower decorations fresh and crisp, store them in an airtight container at room temperature for up to two days. However, if you live in a particularly humid climate, they might soften up. Some people swear by adding a food-grade silica packet to the container to absorb any moisture and keep them in prime condition. I’ve found that just making them the day you plan to use them is the easiest solution, to be honest.
Absolutely! A food dehydrator is a fantastic tool for this. The process is even more hands-off. Just place your pineapple slices on the dehydrator trays and follow the manufacturer's instructions, typically drying them on a low setting (around 140°F) for several hours. This method often results in a more uniform color and less browning, though the oven-dried ones have a lovely, rustic appeal, don't they?
Yes! They're like a sweet, chewy, slightly tangy candy. As the pineapple dries, its natural sugars concentrate, making it an incredibly flavorful snack or garnish. They add a pop of tropical sweetness wherever you use them, from cupcakes to a bowl of ice cream.
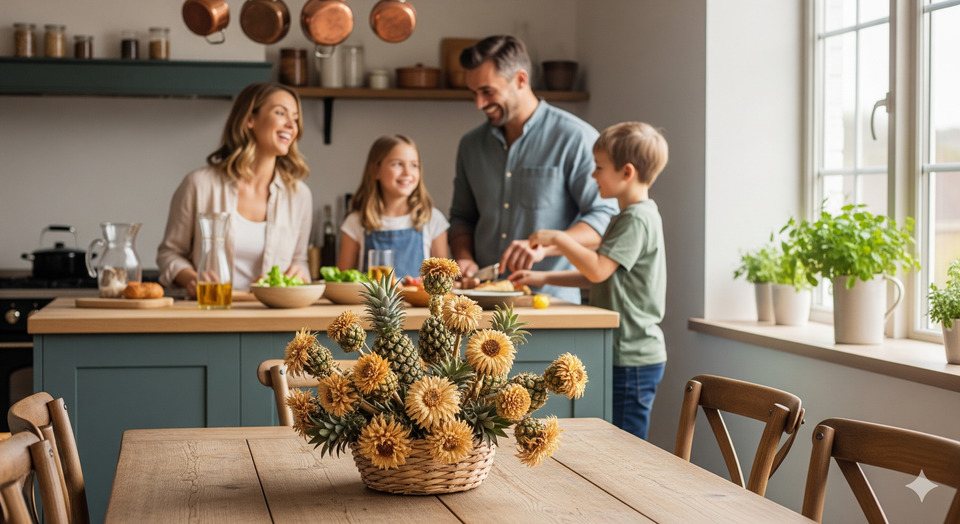
This is the most rewarding part. The moment your pineapple slices come out of the oven, they'll still be warm and flexible. This is your narrow window of time to shape them. The easiest way to do this is to take each slice and gently press it into the cup of a muffin tin. A mini-muffin tin works perfectly for smaller slices. The natural curve of the tin will force the pineapple to curl up, and as it cools, it will hold that beautiful, cupped flower shape. Leave them to cool completely, ideally overnight, in the muffin tin to ensure they set properly.
Once they've cooled, they're ready to be the star of the show. Imagine them on top of a coconut cream pie, or as a garnish for a tropical cocktail. They're not just for dessert either. You could use them as a pineapple flower cake topper for a birthday or wedding cake, creating a stunning, unique centerpiece that's also delicious. They're a fantastic, edible flower decoration that adds a touch of class and whimsey to any event.
So, if you're looking for a new creative outlet or a way to personalize your baking and gifts, give this a try. It’s a process that's part science, part art, and a whole lot of fun. And when your friends and family ask you how you made those stunning pineapple blooms, you can smile and say, "Oh, these? They were nothing." But we'll know the secret.
7 min read
Learn how to keep cut flowers fresh with simple steps: a clean vase, angled stem cuts, flower food, cool spots and fixes for wilting roses and tulips.
Read story
3 min read
What does flower food do for cut flowers? Learn what is in the little packet, how to use it, how to make homemade flower food and which shortcuts to skip.
Read story
5 min read
Learn how to dry flowers at home with air drying, silica gel, pressing, the microwave or the oven, plus the best flowers for drying and how long they last.
Read story